Instructions For Use
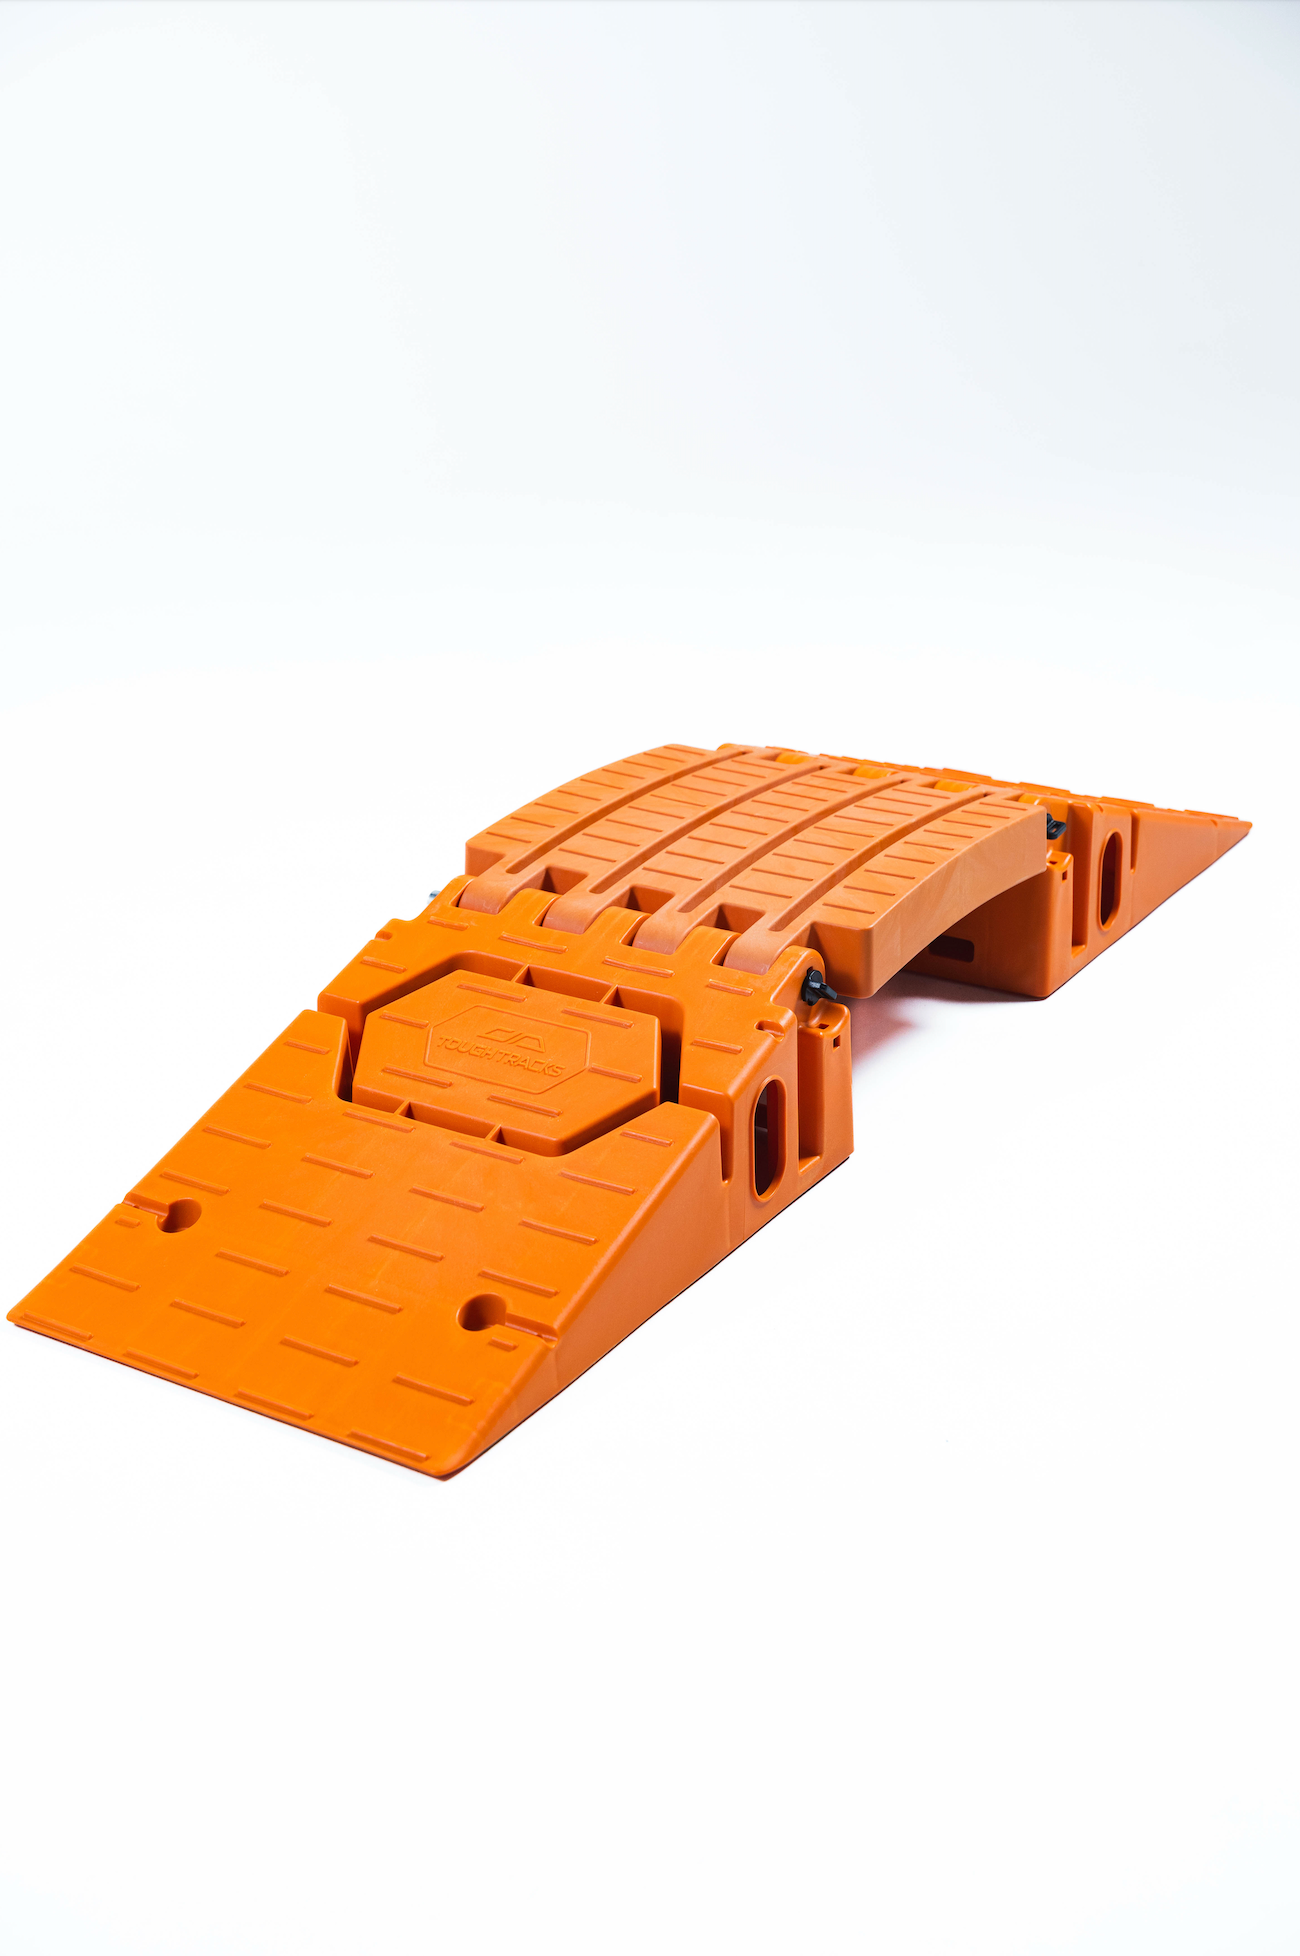
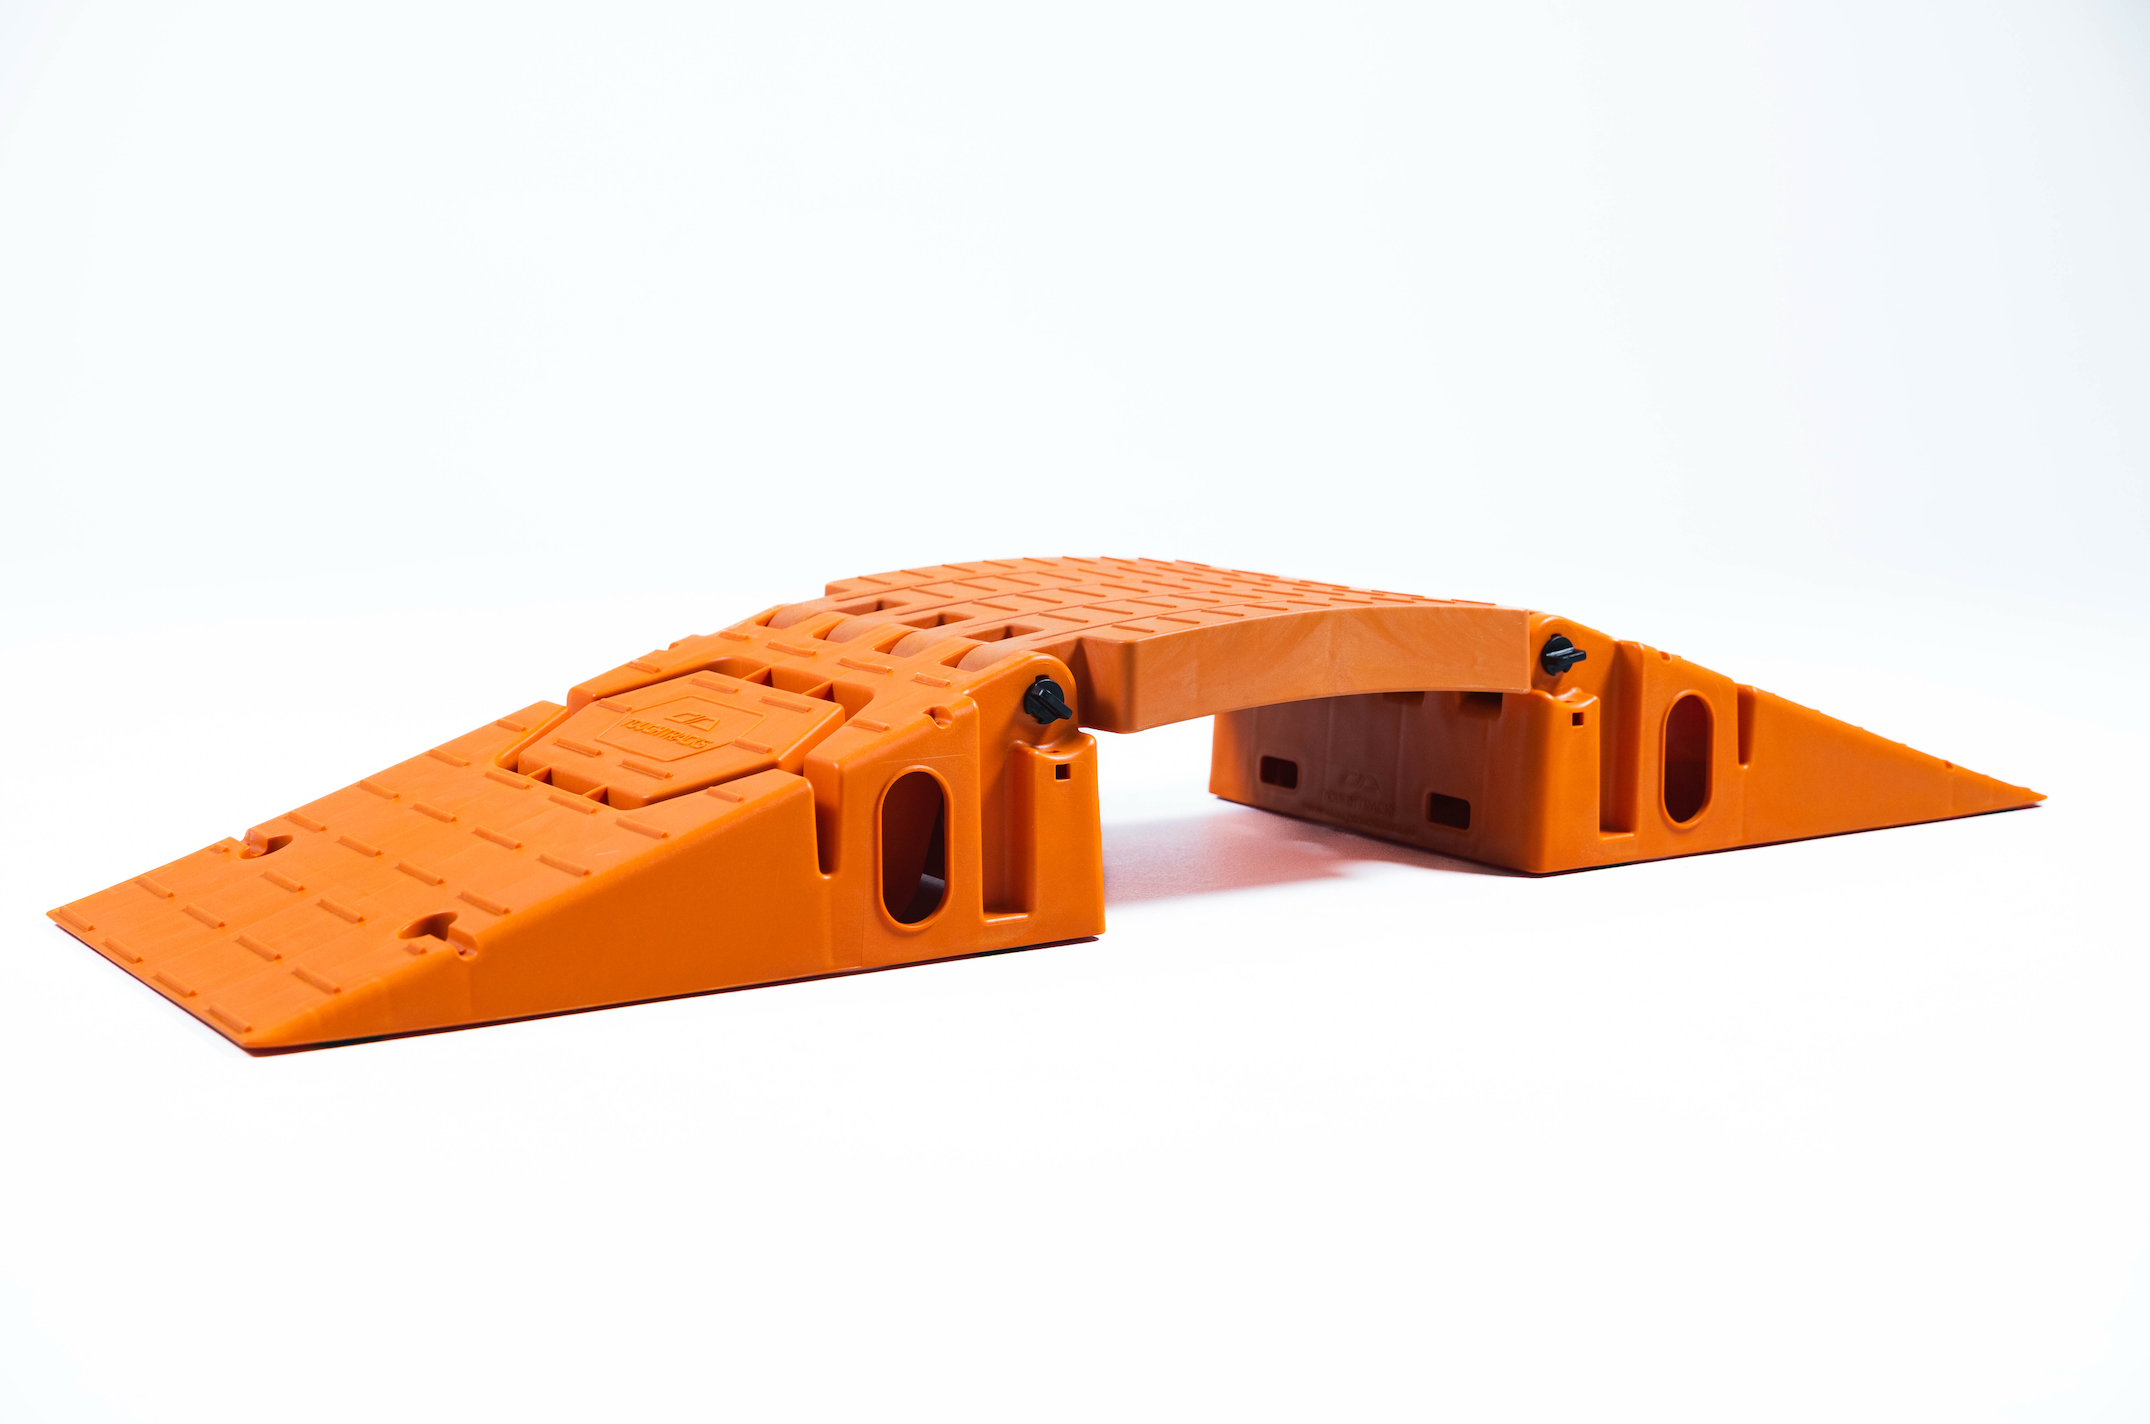
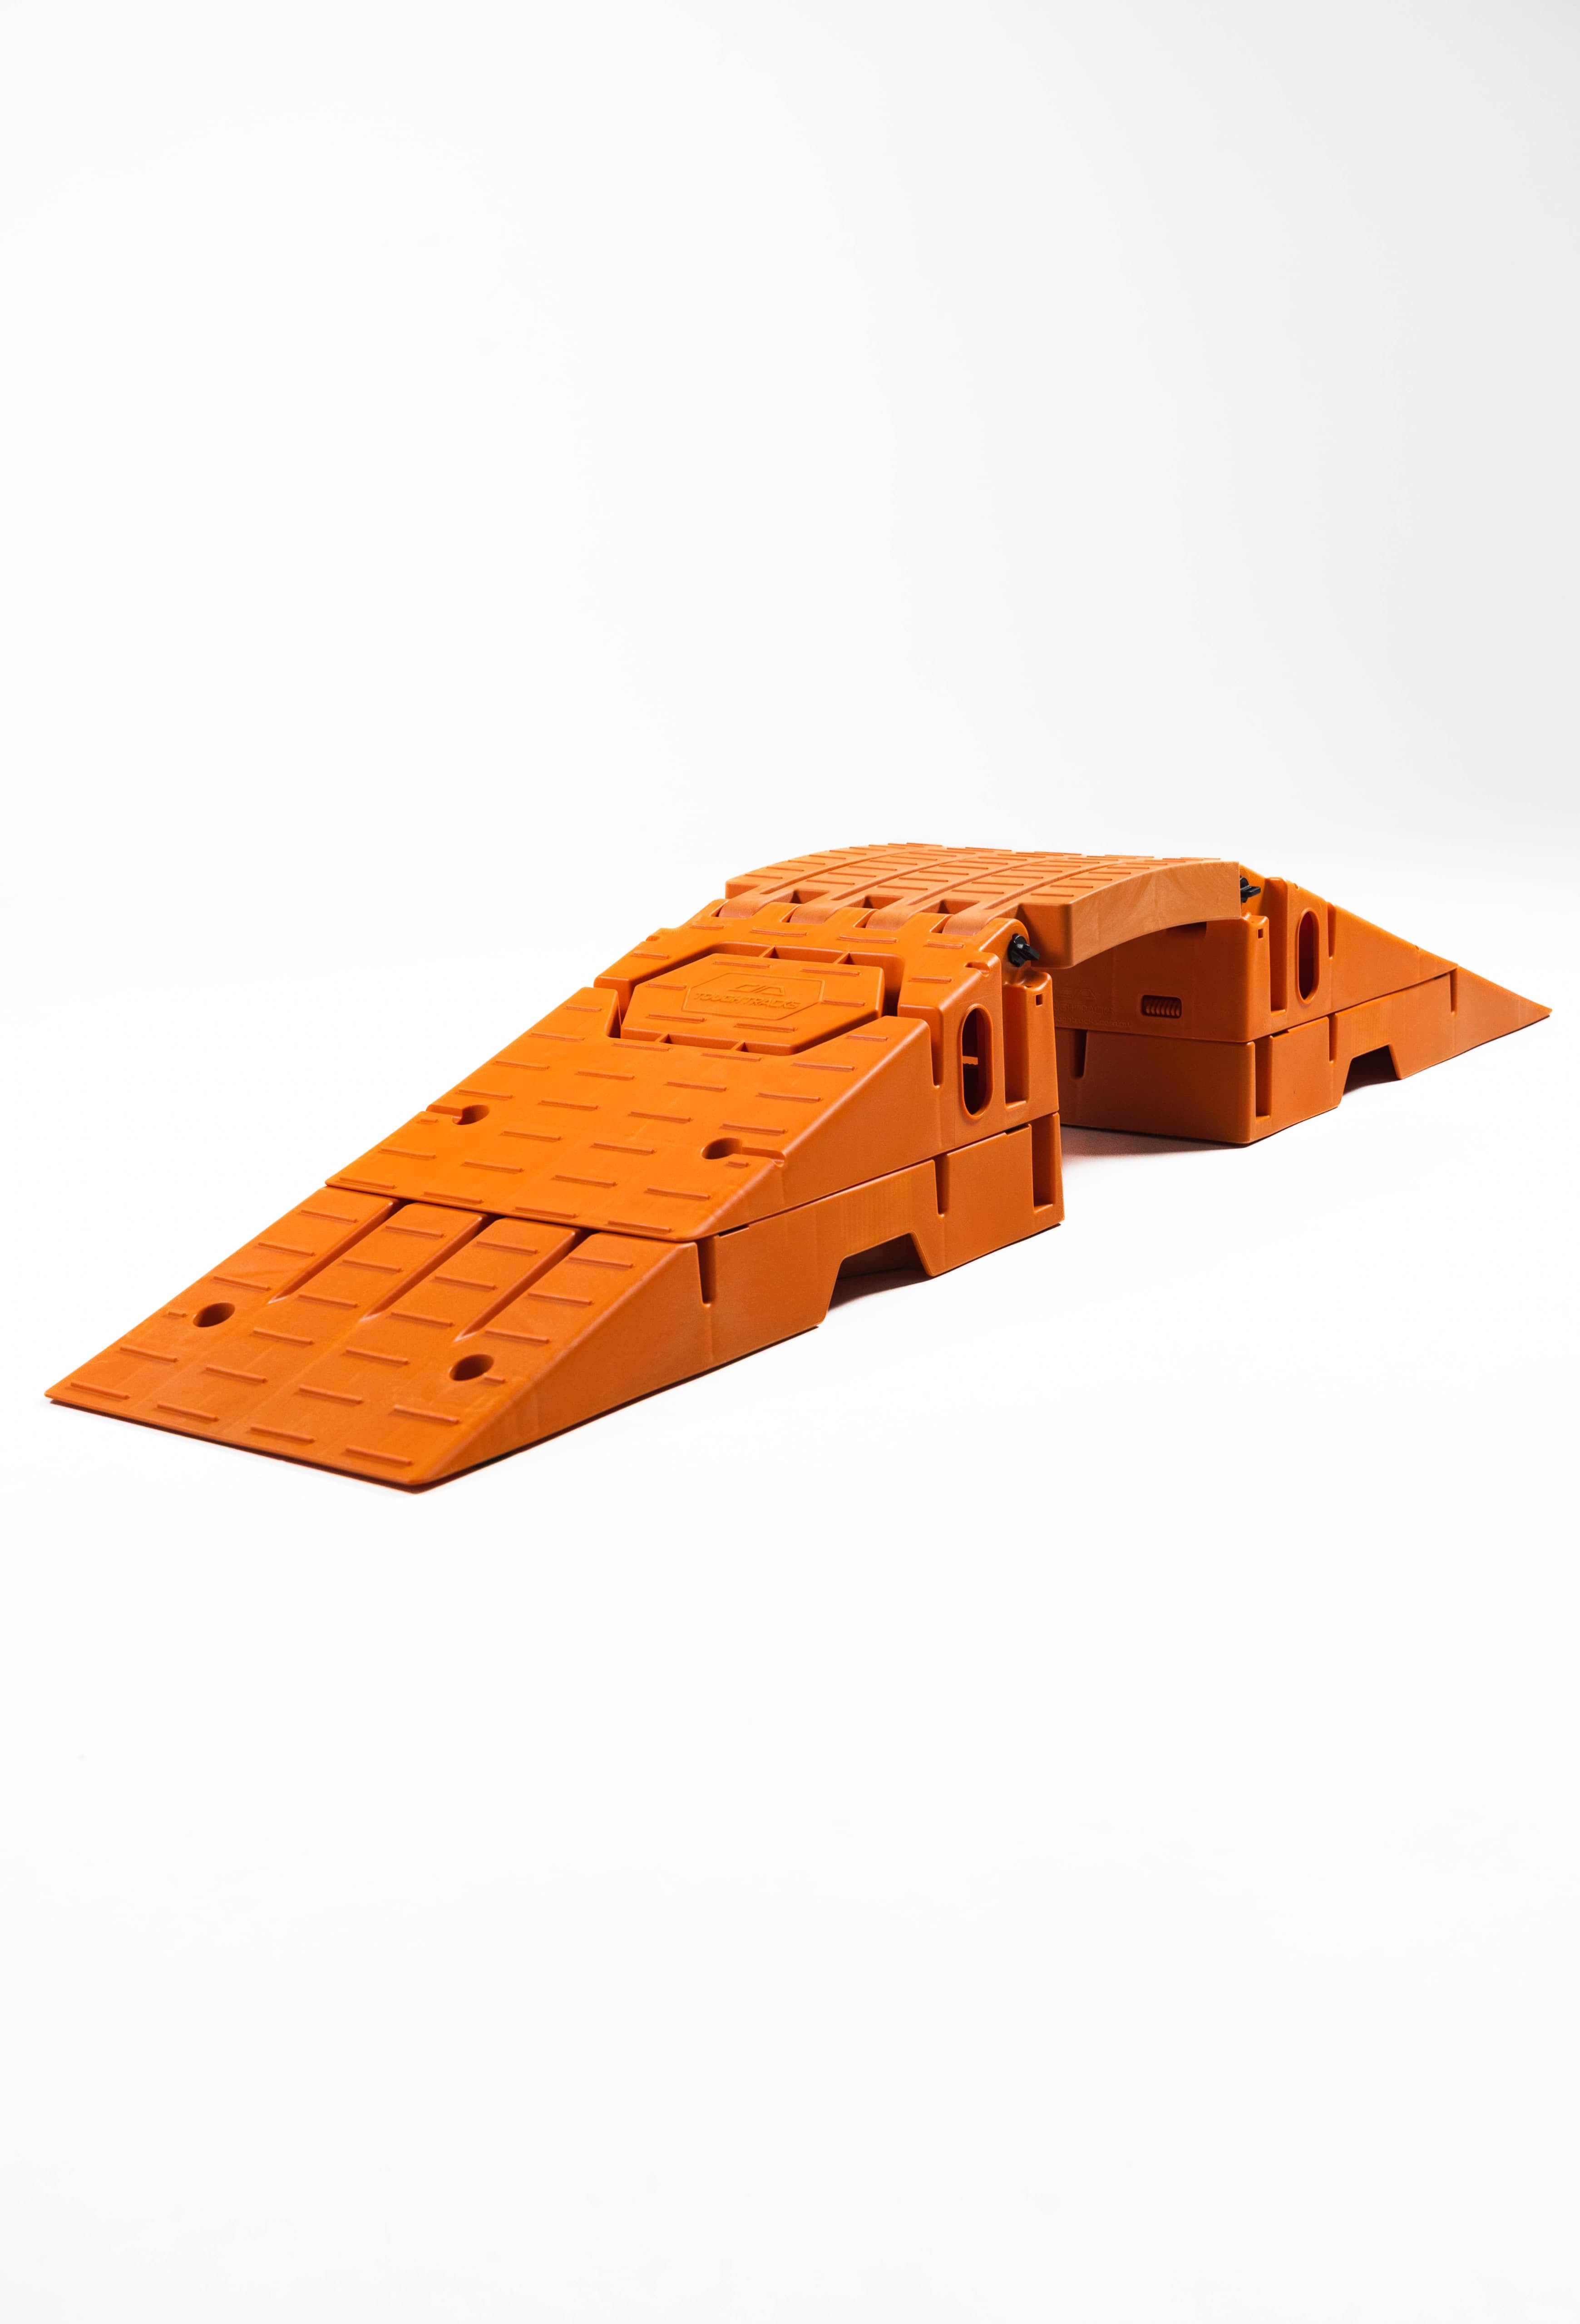
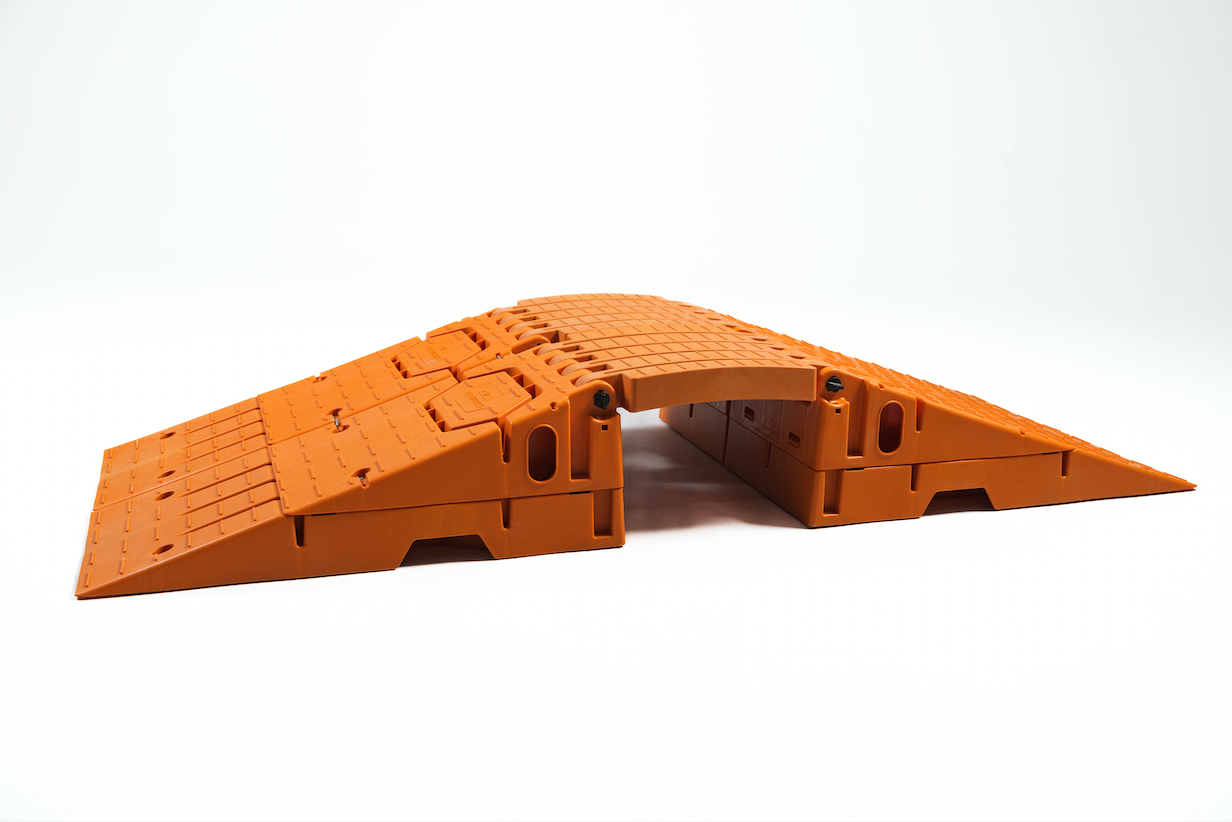
TOUGHTRACKS is a two-ramp system, including a mid-span, designed to bridge sliding door tracks and other obstacles for safer site access. The system comes in two versions. Both versions feature an articulating connection to the span, allowing adjustment for varying step heights.
Installation Instructions
STEP 1
Place each ramp securely on level ground on either side of the hob or obstacle.
STEP 2
Remove one connecting pin.
STEP 2A
Align the span piece so the knuckles interlock.
STEP 2B
Insert the connecting pin through the knuckles and secure it.
STEP 3
Twist the lock nut in the radial slot to ensure the pin stays in place.
STEP 4
Repeat the process on the opposite side.
STEP 4A
Adjust the ramp alignment to ensure the knuckles are properly engaged and the connecting pin is locked in position.
(Optional – Anti-Theft Installation)
For added security, you can bolt the ramps in place:
STEP 5A
Mark the bolt holes through the height adjuster or ramp.
STEP 5B
Move the ramp aside and drill through the marked spots into a concrete substrate (which will later be covered).
STEP 5C
Install 15mm hex head (10mm thread) concrete bolts to secure the ramps.
STEP 5D
Avoid over tightening to prevent damage to the ramp's plastic and metal holes.
STEP 5E
For added anti-theft protection, the connecting pins can be padlocked or cable-tied through the loops of the pin head and ramp, preventing unauthorised removal.
STEP 6
The Pro ramp version is secured using two hooks and two bolts. Insert the ramp over the hooks and ensure both pieces fit snugly.
STEP 6A
Use a handheld socket tool to loosen and tighten the bolts. Important: Hand-tighten the bolts first before using the tool to prevent stripping the threads.
STEP 7
Tough Tracks features comfortable handgrip positions for easy carrying. You can transport the assembled ramp using both hands or carry each ramp separately.
STEP 7A
A customised wheelie bag is available for easier storage and site handling.


